
•Basic Moldmaking Tutorial
Edited 27th October 2017 - Originally posted May 17th 2016
WARNING: THIS GUIDE IS LONG, LOTS OF PICTURES
In this guide I'll go through the whole process of making 2-part molds for casting keycaps.
Part 1 - The mold top:
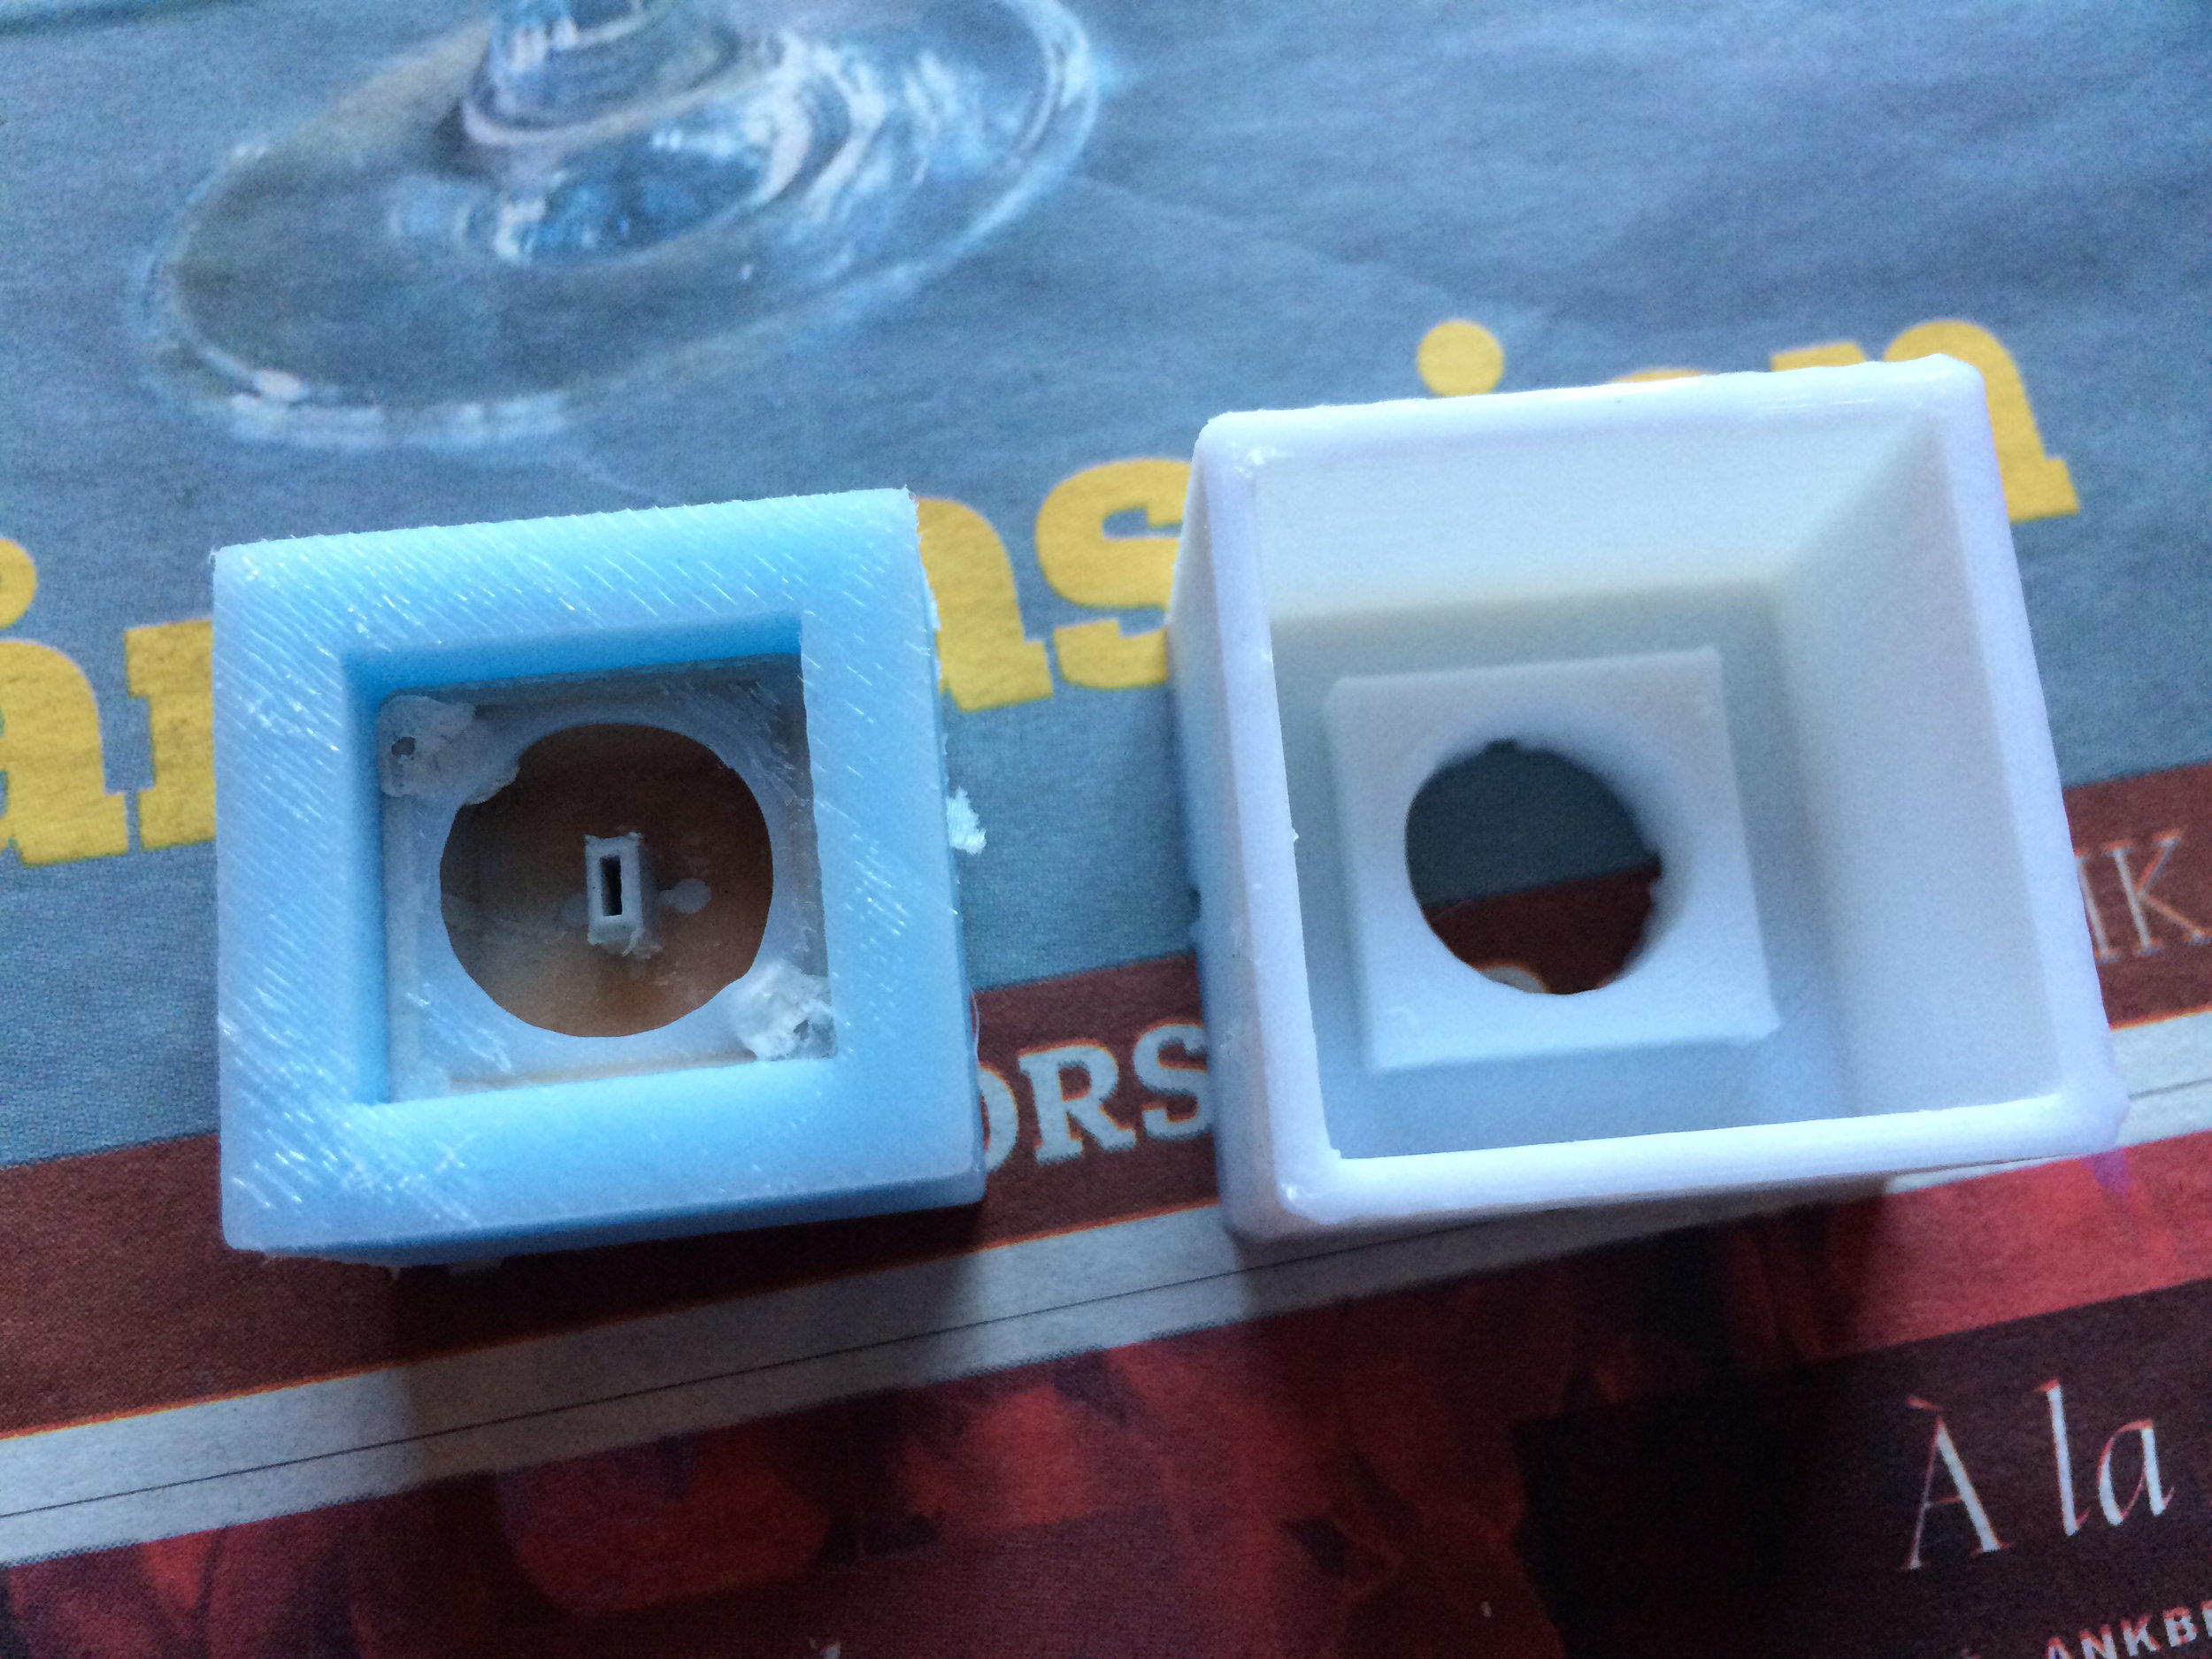
First of all, you'll need the keycap that you want to replicate, as well as a mold-box. I use 3D-printed mold-boxes, but any other box should work, such as plastic containers, cardboard or lego! Just make sure it's something that you can easily get the mold out of.


The keycap in this picture is my old TMX master, this was the first mold I made with it! The hole in the bottom is made to be able to put longer stems into the box, such as row 1 apple alps,topre or buckling spring. Using clay on the bottom of a cardboard box and pressing the stem into it works just fine as well.

I made 3 other caps at the same time; I always try to make as many molds at possible at once, as that saves a lot of time compared to making every mold at once!

Here's pics after pouring the silicone into the molds, always pour it in the side of the mold and let it run onto the cap, that makes it flow into all small details better compared to just pouring directly on top of the cap! You don't want bubbles in your mold. I personally use a pressure pot to get rid of bubbles, but if you don't, here's a tip to ensure your molds are bubble-free:
Just as the second pic shows, I used to always move the mixing stick up and down in the silicone a few times after pouring. This allows bigger air bubbles to escape better to the top of the mold. This is entirely optional, but it can make a big difference to keep bubbles away.


Here's the final cured molds!

The mold can easilly stick to the sides; to get it to loosen from the sides I cut around the whole thing with a knife.
After removing it, you can see that a bit of excess silicone may have flown under the cap. It's important to remove this before proceeding with the process!

Here's the first part of the mold, completelly ready for casting! But for casting, we need a second part as well.
Part 2 - The mold bottom:
So now it's time for part 2, the bottom of the keycap mold! The first thing you'll need to do for this is to make sprues for air and excess resin to escape through:


I use one sprue in each corner of the mold. With the stems you have a choise to make - either have a sprue in the stem, or prefill the stems. The advantage of having a sprue in the stem is that it makes the casting process a bit easier, but if done incorrectly it might cause issues with the look/ functionality of the stem.

To ensure this new parts doesn't stick to the old one, moldrelease is needed! I use the most common one, which is vaseline mixed with a little bit of nafta! Then you just apply this to all the surfaces into the mold by "painting" it onto the mold with a brush. Make sure to not paint this on the actual caps themselves, as that will give them a glossy texture.
No thick layer is needed, just be sure to do it thoroughly so that it cover all areas of the mold!


Same as before, now just apply a moldbox for the resin to go into! This time it does not need a bottom though. Same as before, whatever you want to use is fine, I use printed ones for my molds.

Just as before, pour the silicone from the side and let it flow into the stem!
Using a stick to remove bubbles is even more important here if you do not have a pressure pot. Bubbles being stuck in the stems is a very common problem for new makers, so just poking it with a stick a couple times always worked for me. Sounds funny, but it works great!


The two parts of the mold will still slightly sick to themselves even though release is used, but just pulling them apart from eachother will make them easily let go!

The molds are now done! To make more bottoms, just repeat part 2 with the first part of the mold!
If you have any questions regarding this process or something that you would want me to add, feel free to write me a message!
Thanks for checking the guide out, I hope I managed to teach you something new! If not... well then I at least hope you enjoyed the pics.