
• Sculpting with Super Sculpey: "The Orxplorer"
Edited 30th July 2017 - Originally posted May 17th 2016
The Orxplorer is a sculpt that I've had in mind for quite a long time. The idea behind the sculpt was to get the same feel and look as my Ork Metaljaw sculpt while still keeping it unique and personal! The first idea I built the sculpt around is the "glass eye" that sits on a strap that goes around the face.
I had a good idea of how I wanted the orxplorer to look like before starting it, thus I made a sketch of the finished look. I still changed some things during the process, to achieve a better end result. Sometimes, what you think will look good sculpted might not look like you thought.

Just a rough sketch, metal bearings, a keycap and some super sculpey clay was the only things needed to complete this sculpt.
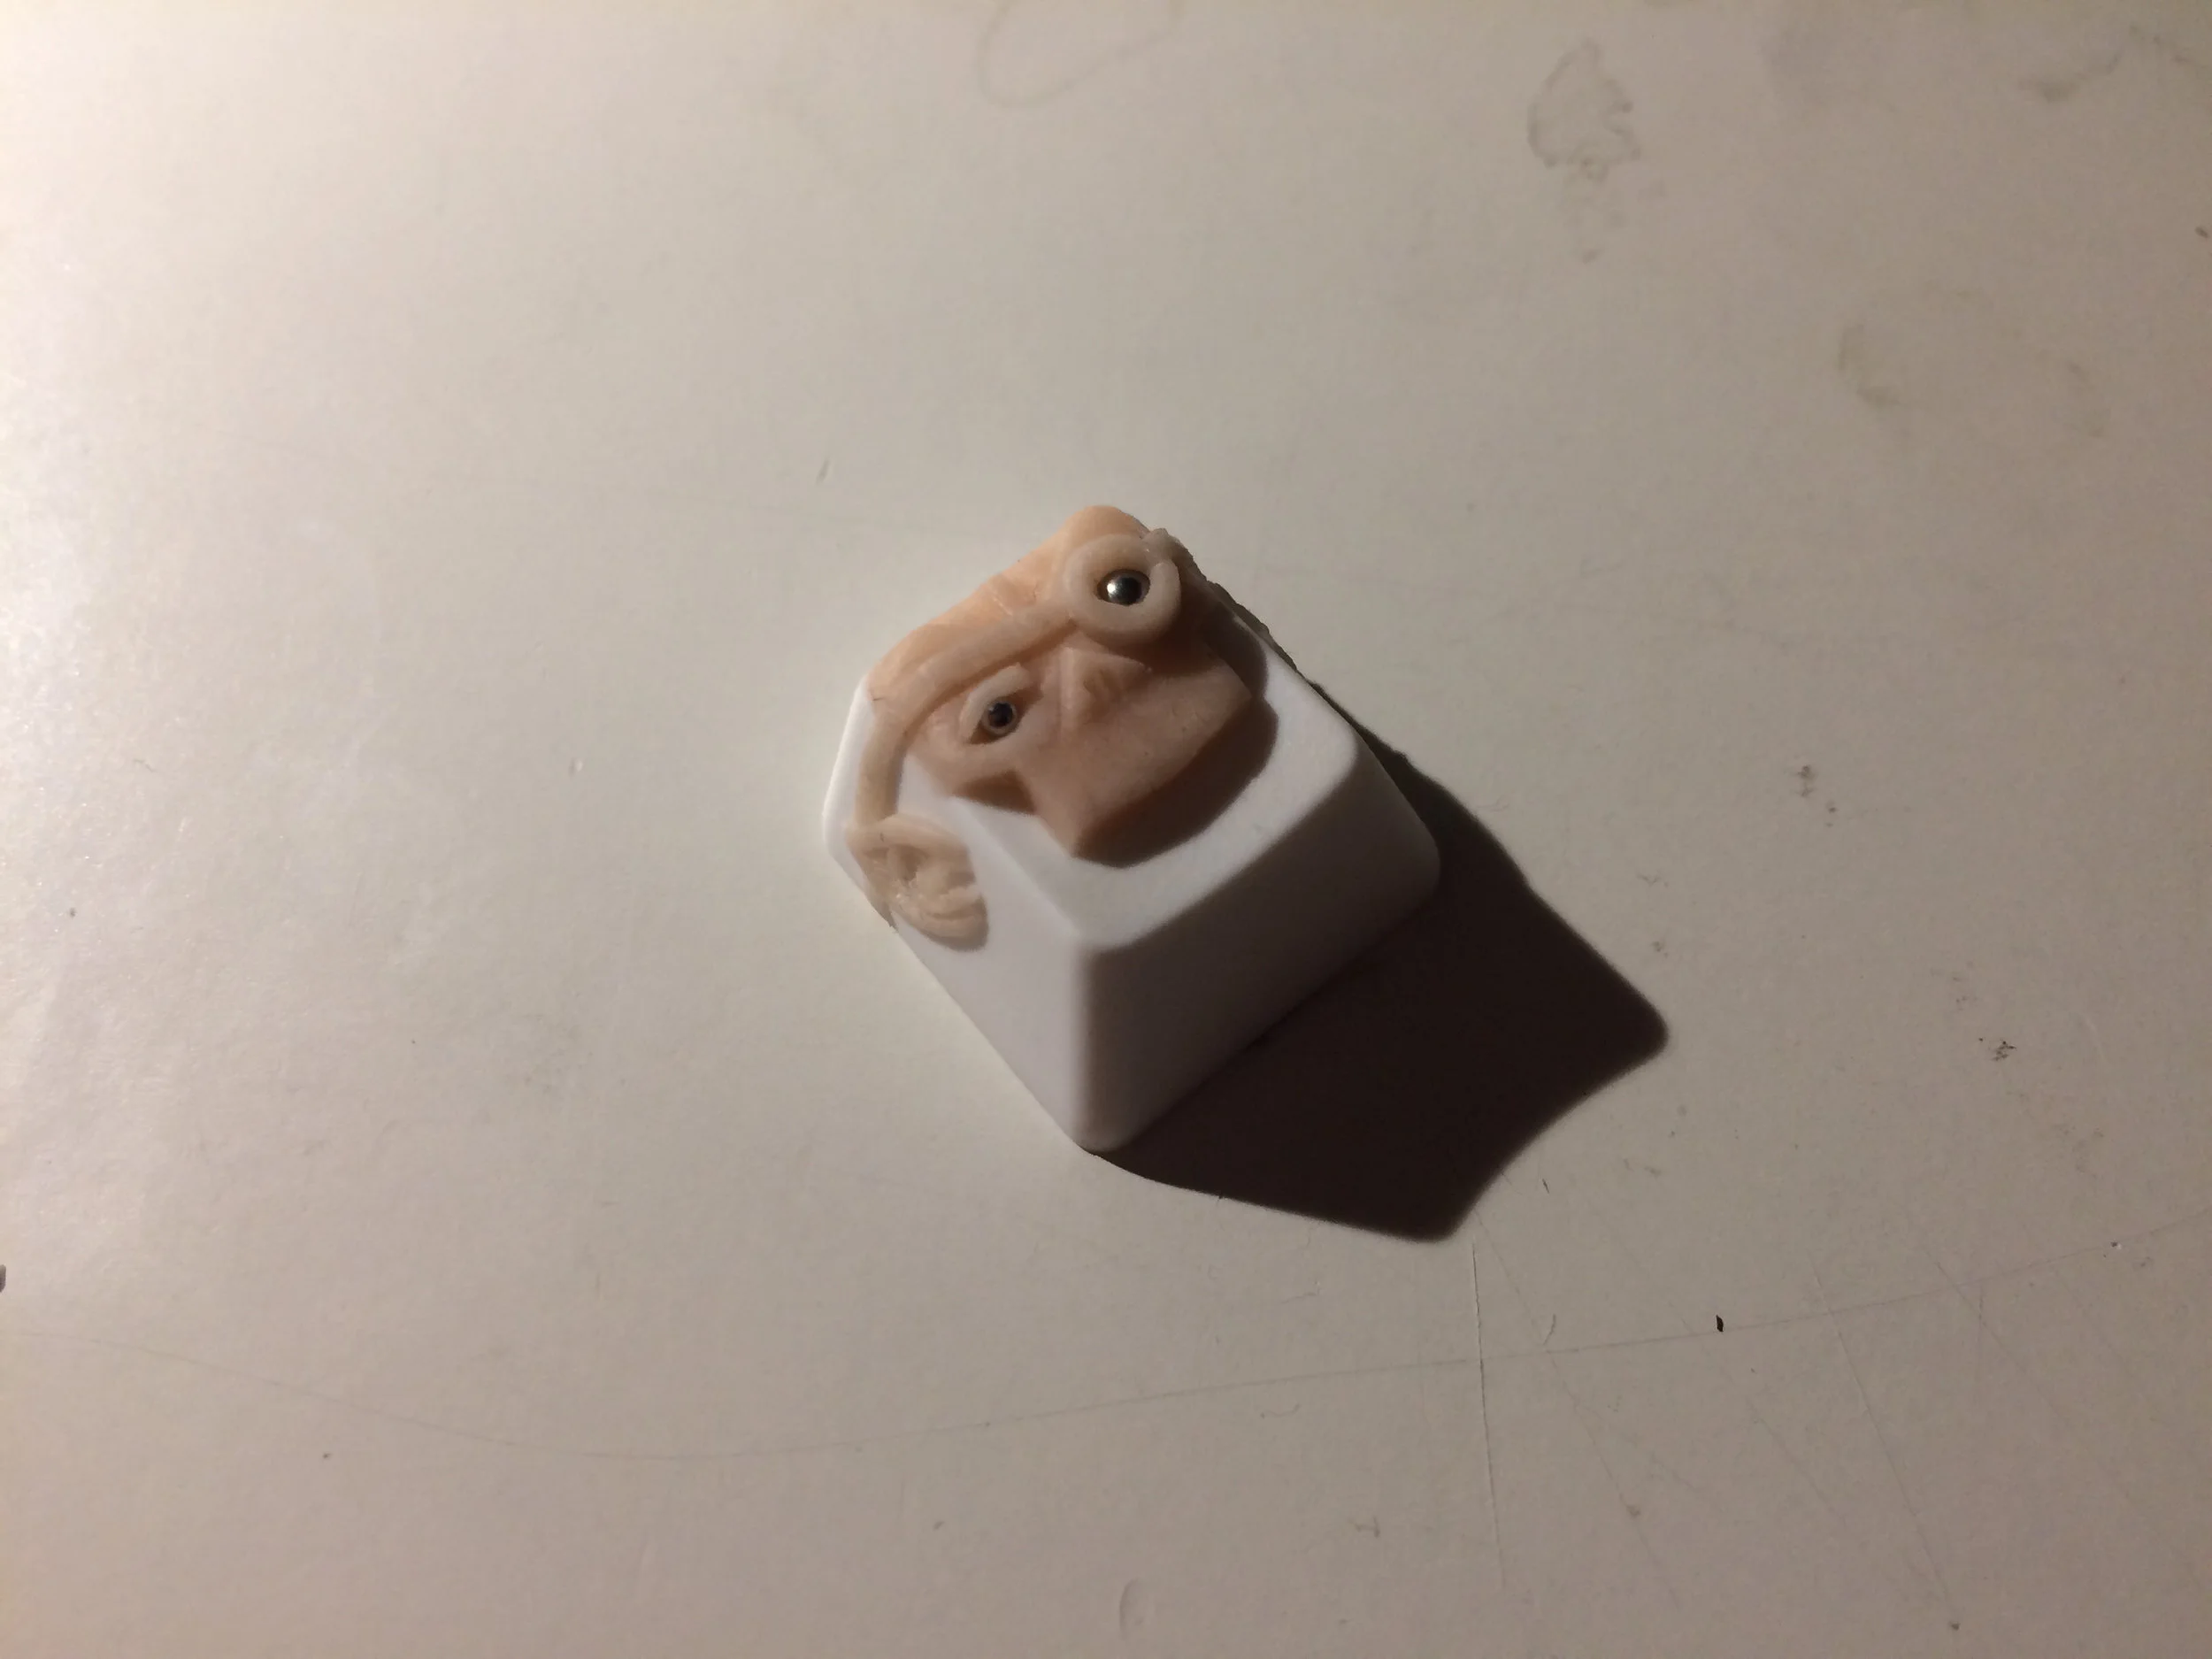
One thing that it very important to think about when making a coherent sculpt is to try to incorporate the figure into the cap, instead of making a figure that is sitting on top. In this case, I made the upper part of the head first, with the nose sticking out and with the two metal balls set into place. After that I added what sticks out of the cap; eyebrow, glass-eye, leatherstraps and ears. When I was sattisfied with this upper part I cured it in the oven for 15 minutes before continuing. This is one of the biggest advantages of Super Sculpey, or Polymer Clays as a whole. Having one part of the sculpt already cured removes the worries of damaging it, and moves your focus 100% towards the parts you're currently working on.
With the upper part finished, only the jaw was left. After adding the jaw and teeth, the sculpt was very close to being done. After doing some smoothing and refining, this is how the finished sculpt turned out:

After making a mold of the sculpt and casting it, this is how the final cap came out to be:

If you are interested of the process of how I went about casting this 5-shot cap, a full walkthrough can be found under Casting: Multishotting Tutorial.
that guide shows every step that I took to cast the cap, from start to finish!
So this is the end of this first sculpting showcase-tutorial-ish thingy, hope you enjoyed it and/ or learned something from it!